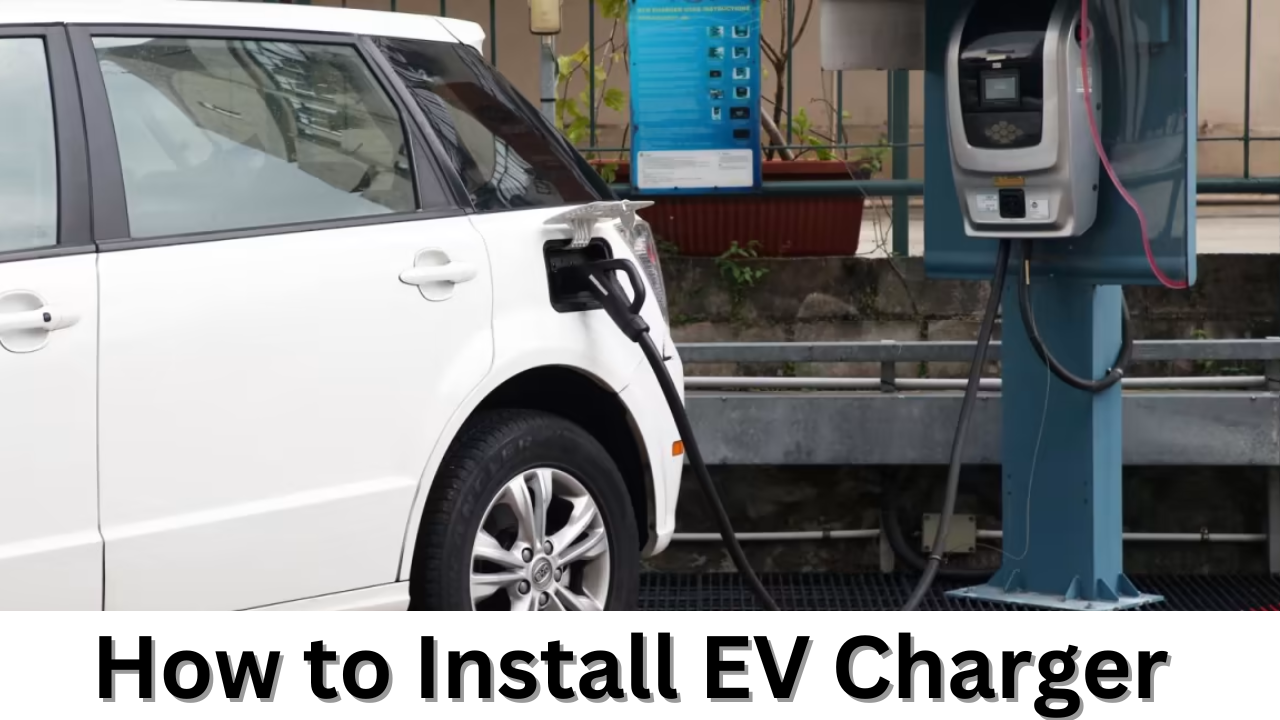
The convenience of charging at home is something that many car owners are considering as electric vehicles (EVs) gain popularity. Installing an EV charger at your house makes charging easier and guarantees that you begin each day with a fully charged battery. We’ll walk you through the steps of How to Install EV Charger at home in this in-depth manual.
How to Install EV Charger at home
Here are the steps to Install an EV Charger at home:
Step 1: Set up the installation area
Choosing the charger’s placement is the first step in installing an EV charger. Installing the charger in a position that is both accessible and weather-protected is a good idea. The area where the installation will take place should be close to the electrical panel and free of any obstructions that can hinder the installation. It’s also crucial to think about the charging cable’s length and confirm that it can extend to the car’s charging outlet.
Step 2: Make sure you choose the right charger
Level 1, Level 2, and DC fast chargers are only a few of the EV charger varieties that are offered. A level 1 charger can take up to 24 hours to fully charge an electric vehicle using a typical 120-volt residential outlet. An electric automobile may be fully charged in 4-6 hours using a level 2 charger that plugs into a 240-volt outlet. The most potent sort of charger, DC fast chargers, can fully charge an electric vehicle in as little as 30 minutes. Your needs and financial situation will determine the sort of charger you select. It is crucial to confirm that the charger is appropriate for your electric vehicle.
Step 3: Make sure the electrical panel is working
It is crucial to verify sure the electrical panel can support the additional load before installing the EV charger. The wiring in the electrical panel should be qualified for the charger’s amperage, and there should be a separate circuit breaker for it. It could be essential to modify the electrical panel or add a sub-panel if it is unable to accommodate the increased load.
Read also: BYD Electric SUV
Step 4: Putting the Charger in Place
The charger should be installed once the installation space has been prepared, the charger has been selected, and the electrical panel has been examined. Depending on the type of charger, the installation procedure will vary, but in general, the procedures are as follows:
- Switch off the electrical panel’s power.
- Affix the charger to a wall or pedestal as directed by the manufacturer.
- From the electrical panel, run the wiring to the charger.
- Attach the wiring to the charger and the circuit breaker.
- Switch on the electrical panel’s power.
- Make sure the charger is functioning properly by testing it.
Step 5: The Charger Must be Connected to a Power Source
It’s time to connect the charger to power when it has been fitted. The electrical panel’s designated circuit breaker should be where the wiring is attached. The wiring needs to be rated for the charger’s amperage. To avoid harming the charger or creating a safety concern, it is crucial to adhere to the manufacturer’s recommendations when connecting the cabling to the charger.
Step 6: Charge the Charger and Test it
It is critical to test the charger to ensure correct operation after it has been powered on. The charging cable must be inserted into both the charger and the car’s charging port when the electric vehicle is parked in the installation area. The charger should start charging the car right away, and either the charger or the dashboard of the vehicle should show the current charging state. If the charger isn’t functioning properly, it might be required to inspect the installation or get in touch with a licensed electrician.
Types of Home Chargers
The most simple electric vehicle chargers are Level 1 chargers, which are easily installed into a regular household outlet. These chargers have several restrictions while being inexpensive and simple to use. For people who commute a long distance or travel frequently, level 1 charging may not be practical because it takes up to 20 hours to fully charge.
On the other hand, compared to their Level 1 counterparts, Level 2 chargers offer faster charging times and more functionality. Although expert installation is necessary, these chargers can fully charge an electric vehicle in as little as four hours. In addition, a lot of Level 2 chargers provide you the option of adjusting the power output to suit your demands.
By incorporating cutting-edge technology, smart chargers go one step further and allow you to remotely monitor and control your home charger via an app or online interface. This enables you to schedule charging during off-peak times when electricity prices are cheaper and even track data on energy consumption in real time. Users can greatly benefit from the capabilities offered by smart charger technology to enhance their EV charging experience while gradually lowering costs.
Conclusion
How to Install EV Charger at home: For owners of electric vehicles, installing an EV charger at home is a sensible and environmentally friendly solution. You can quickly get your charger set up and working properly by following this step-by-step instruction manual and, if in doubt, seeking advice from a certified electrician. As you embrace the future of mobility, take advantage of the comfort of home charging and lessen your carbon footprint.